Is it difficult to plaster a wall?
Plastering is a job which most of us will leave to a pro and get a local plastering company round to your home. But by preparing well and carefully following a practiced method, it’s perfectly possible for you to plaster a wall. The finished result is going to be a nicely plastered wall done by yourself which you can go and paint or put up your new wallpaper.
Tools to plaster your wall?
Plastering a wall can take time so it’s important to choose good quality tools which feel comfortable in your hand. A full list of tools required can be found at the top of this page, but the five basic tools are:
- Plastering trowel – choose a stainless steel trowel with a comfortable, evenly weighted handle.
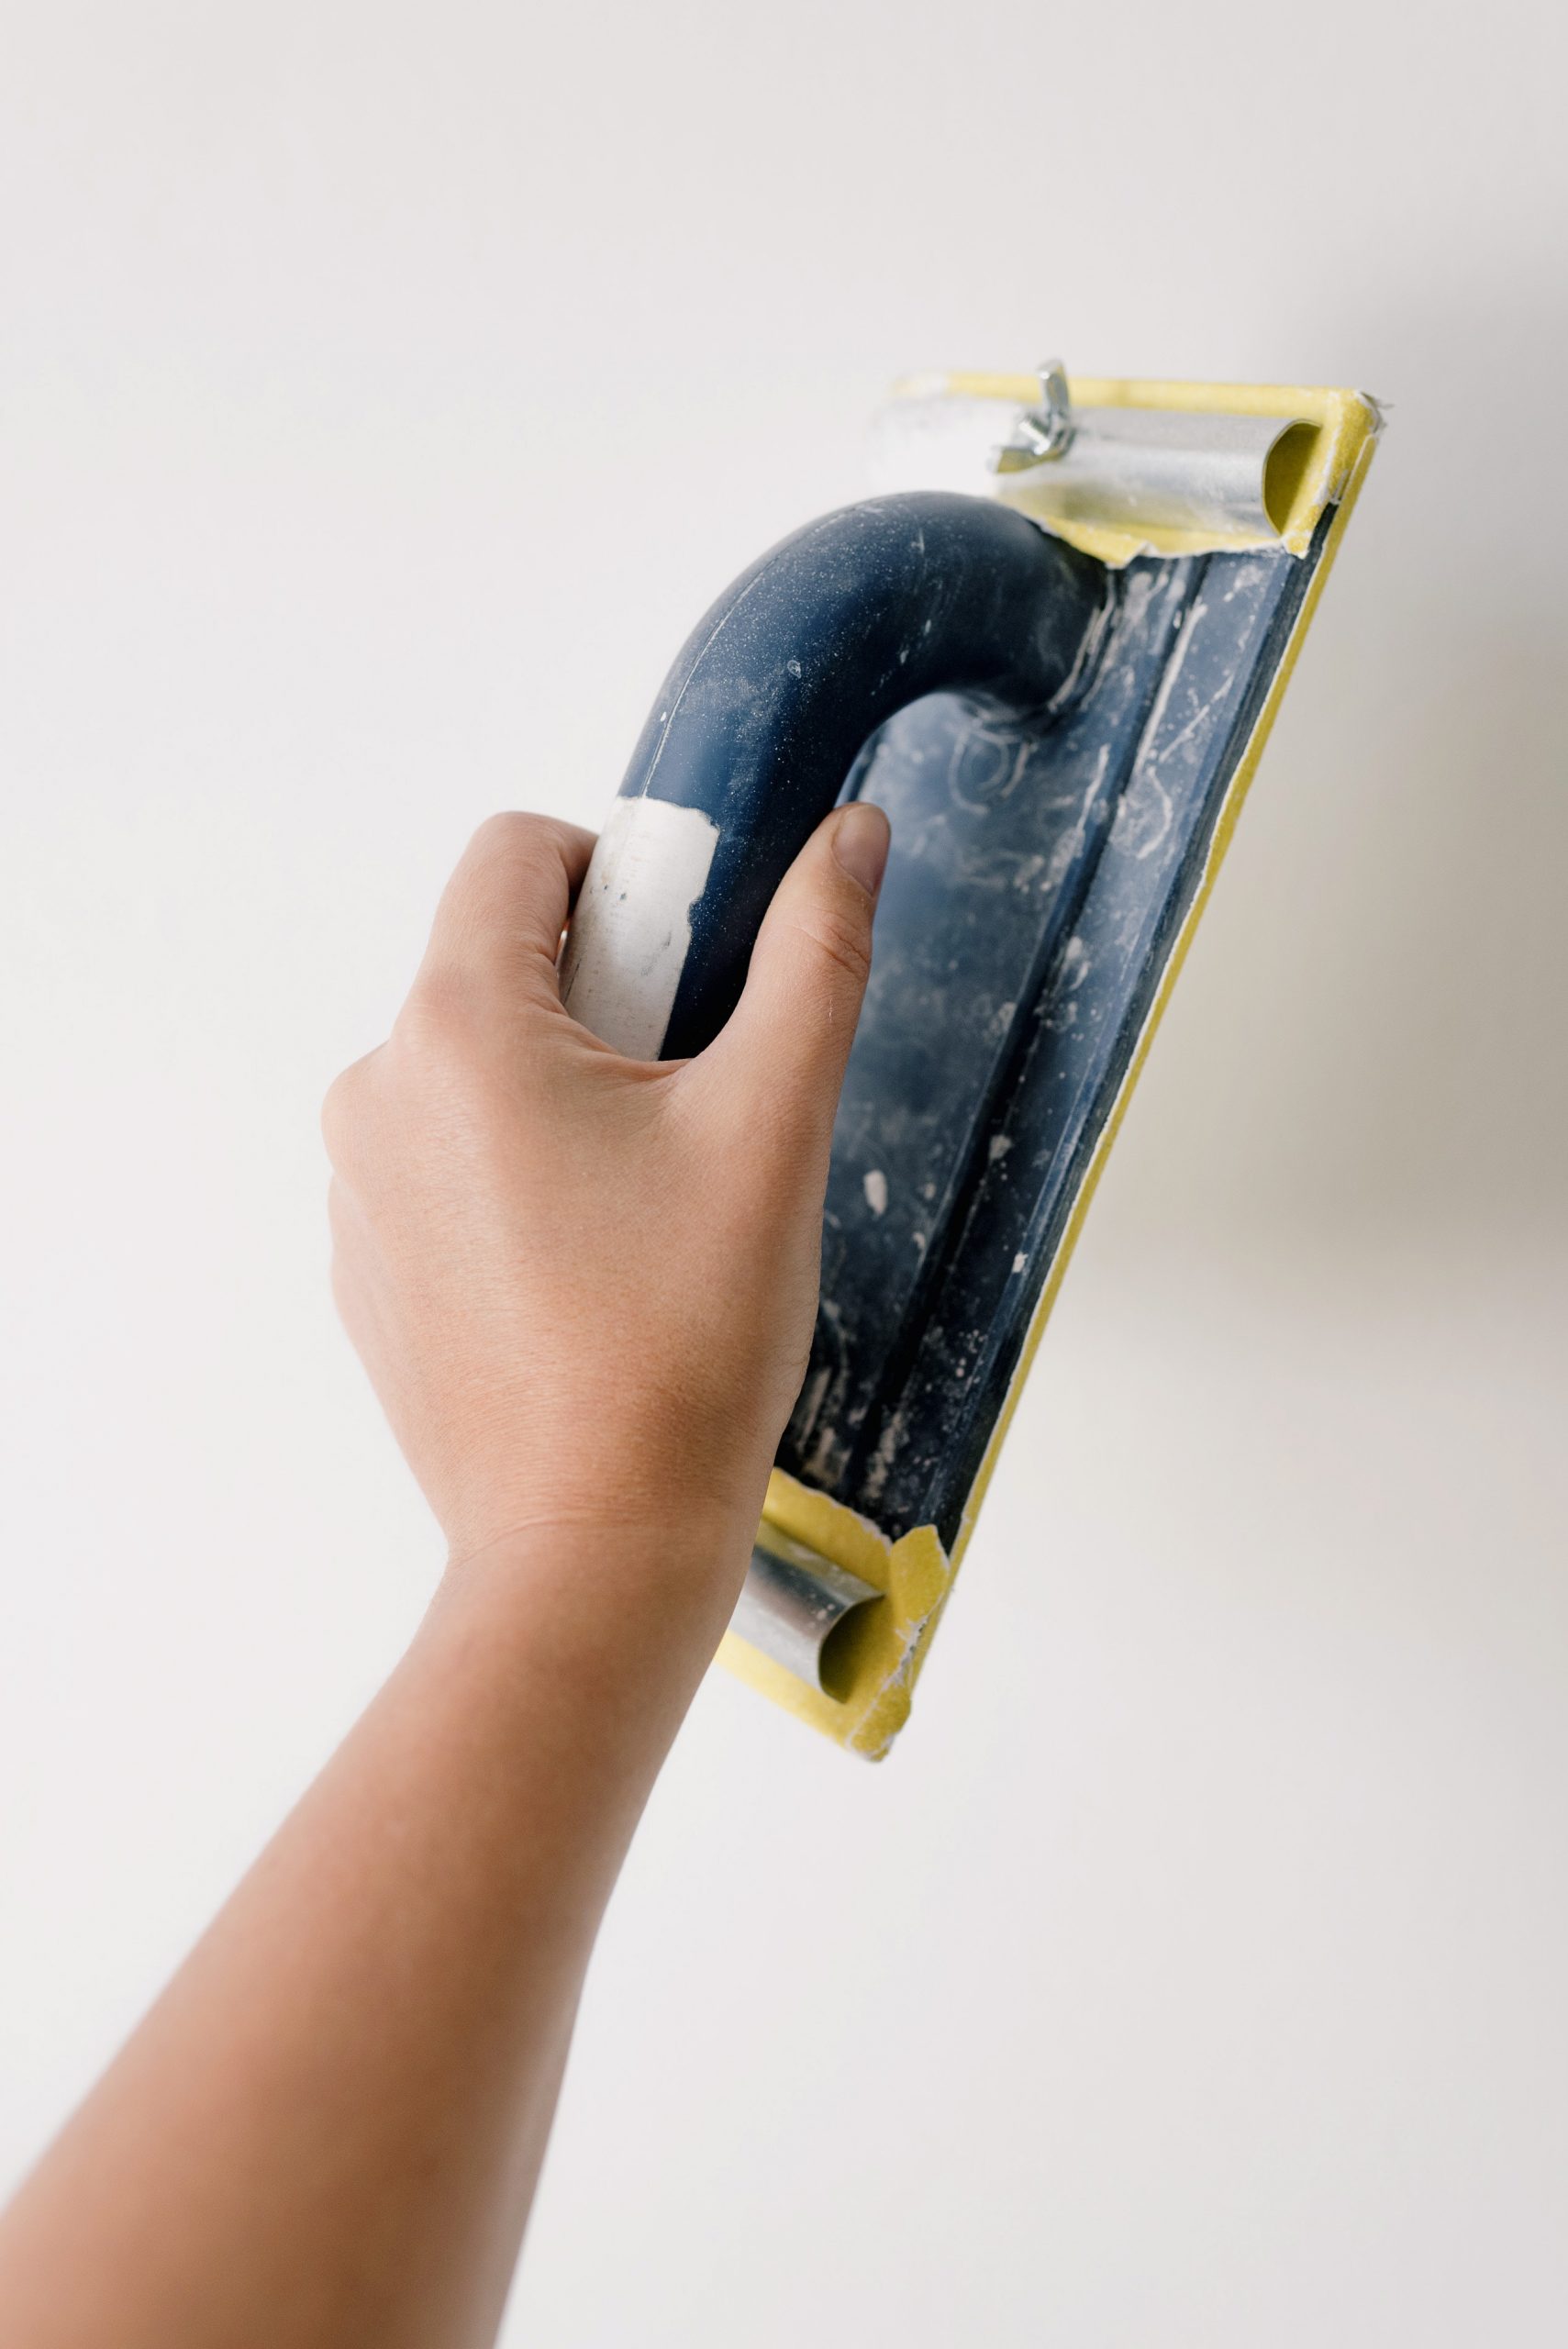
- A plasterer’s hawk board – this is the tool that holds your plaster. A plastic hawk board is lighter than a wooden one, although both types are absolutely fine. A wooden hawk board will last much longer though.
- Bucket trowel – this tool is specially designed to make it easy to scoop plaster from the bucket to your hawk board.
- A power mixer – although it’s fine to mix the plaster by hand, using a power mixer is much easier and quicker. It’s especially suitable if you’re creating large batches of plaster which need to be applied quickly.
- A good quality paint brush – this is essential for keeping your edges clean and applying water to your plaster.
If you re-use tools for plastering, make sure they are spotlessly clean with no plaster residue remaining from a previous job.
Prep the wall for plastering
Step 1
Plastering a wall can be very messy job, so like doing anything having a clear area to work in is always a must. Always make sure you move any furniture or cover it otherwise you may regret it. If it is possible take down any curtain rails radiators and any rails. Most importantly tape up up any electrical sockets to make sure no plaster can get inside them.
- Lay out heavy duty protective sheets on the floor. If you’re removing old plaster then you’ll need two sets of sheets – one for removal of old plaster and another for application of new plaster. Otherwise you risk dust contaminating your new plaster.
- Clean and scrub the wall thoroughly, removing any wallpaper, loose plaster, grease and dust. This is very important, as any debris remaining on the wall will prevent the plaster from sticking properly.
- If you’re working with new plasterboard apply plaster tape to cover all the joints between plasterboard sheets. Once the tape is in place use a sharp knife to trim the tape to a neat edge.
Step 2
The next step is to apply PVA glue, which is always essential so it can keep the plaster onto the wall. The PVA glue will need diluting before applying to the wall, so be sure to follow the manufacturer’s instructions on the label. A ratio of 1 part glue to 4 parts water is usual ratio. Roll or brush the glue onto the wall. Don’t wait for the glue to dry completely. Once it is a little sticky to the touch then you can start applying plaster.
How do you mix the plaster?
Step 1
Always follow the manufacturer’s instructions when mixing plaster. To avoid contamination, make sure you use a clean bucket and fill it with clean tap water, then steadily add the plaster. This helps you avoid ending up with a lumpy uneven mixture.
Step 2
Use a bucket trowel to incorporate any dry plaster around the edge of the bucket to make sure all the plaster is well mixed in.
Step 3
When you are going to mix plaster you can either mix it manually by hand with a baton or you could use a power mixer. A power mixer is always a better option if you have a large job to do and are having to make much bigger batches of plaster. With limited amount of time to do it in. When using the power mixer make sure you put it on a slow speed so you don’t over the plaster mixture. Keep stirring the plaster mixture until it is of a smooth consistency and is free of any lumps.
Step 4
Once you have finished mixing the plaster with the power mixer. Make sure you clean all the plaster of the blades so none of the plaster will set on the blades.
How to apply the plaster?
Step 1
If you are going to be plastering a large area, it’s best to pour your plaster out onto a spot board. The mixture should spread but not run across the board. Using a bucket trowel, cut away a section of the plaster and transfer to your hawk board. Use a small amount to start with if you’re not used to handling the hawk.
Step 2
To apply the plaster to the wall, follow these steps:
- Use the plastering trowel to pick up a small amount of plaster from the hawk board. To apply the plaster to the wall, spread the plaster firmly using an upwards stroke with the trowel angled slightly away from the wall.
- Flatten the trowel at the end of each stroke to smooth the plaster down.
- Work from the bottom left hand corner of the wall upwards and outwards, using a small amount of plaster each time.
- You can use short sweeps to start with, then longer sweeps to smooth out.
- Continue working your way along the wall until the plaster has been evenly spread along the whole surface.
Step 3
Remember to disconnect the electricity if you’re plastering around a light socket and protect the socket with tape. Otherwise you could be getting an electrician in or a visit to A&E.
Step 4
Allow the first coat of plaster to dry slightly for about 20 minutes. You can then go over the plaster again with a trowel to smooth out any bumps. If necessary spray some water on sections of the plaster. This will make the plaster respond better to the trowel. Remember to smooth out corners and edges, using a wet brush to even out.
Apply a second coat of plaster repeating the steps detailed above. The main difference with the second coat is that it needs to have a much smoother and even finish. For the second coat the plaster needs to be a little thinner – refer to manufacturer’s instructions for the best results.
Step 5
Again, following the manufacturer’s instructions, leave the plaster to dry slightly. The surface should still be slightly damp but is firm enough that it doesn’t move when touched.
How do you finish off the plaster?
Step 1
Once the plaster has dried to the right condition, you need to polish off your work. Go over the surface lightly with a clean trowel blade, dampening the surface with a spray bottle as you go. Again, angle the blade slightly so the edge smooths over the plaster.
Step 2
Use a small damp brush to polish off the edges and corners.
Once the plaster is completely dry then it’s ready to be painted or wallpapered. Remember to close up any bags of unused plaster but bear in mind that the plaster mix will only keep for a couple of weeks.
If you don’t feel confident in plastering a wall yourself we can help you by get you quotes from up to 4 local plasterers in your area.
